Library as Bathhouse

Reinterpreting the Roman Thermal Baths as study ritual

Site Elevation Collage with Physical Model II — hover to reveal
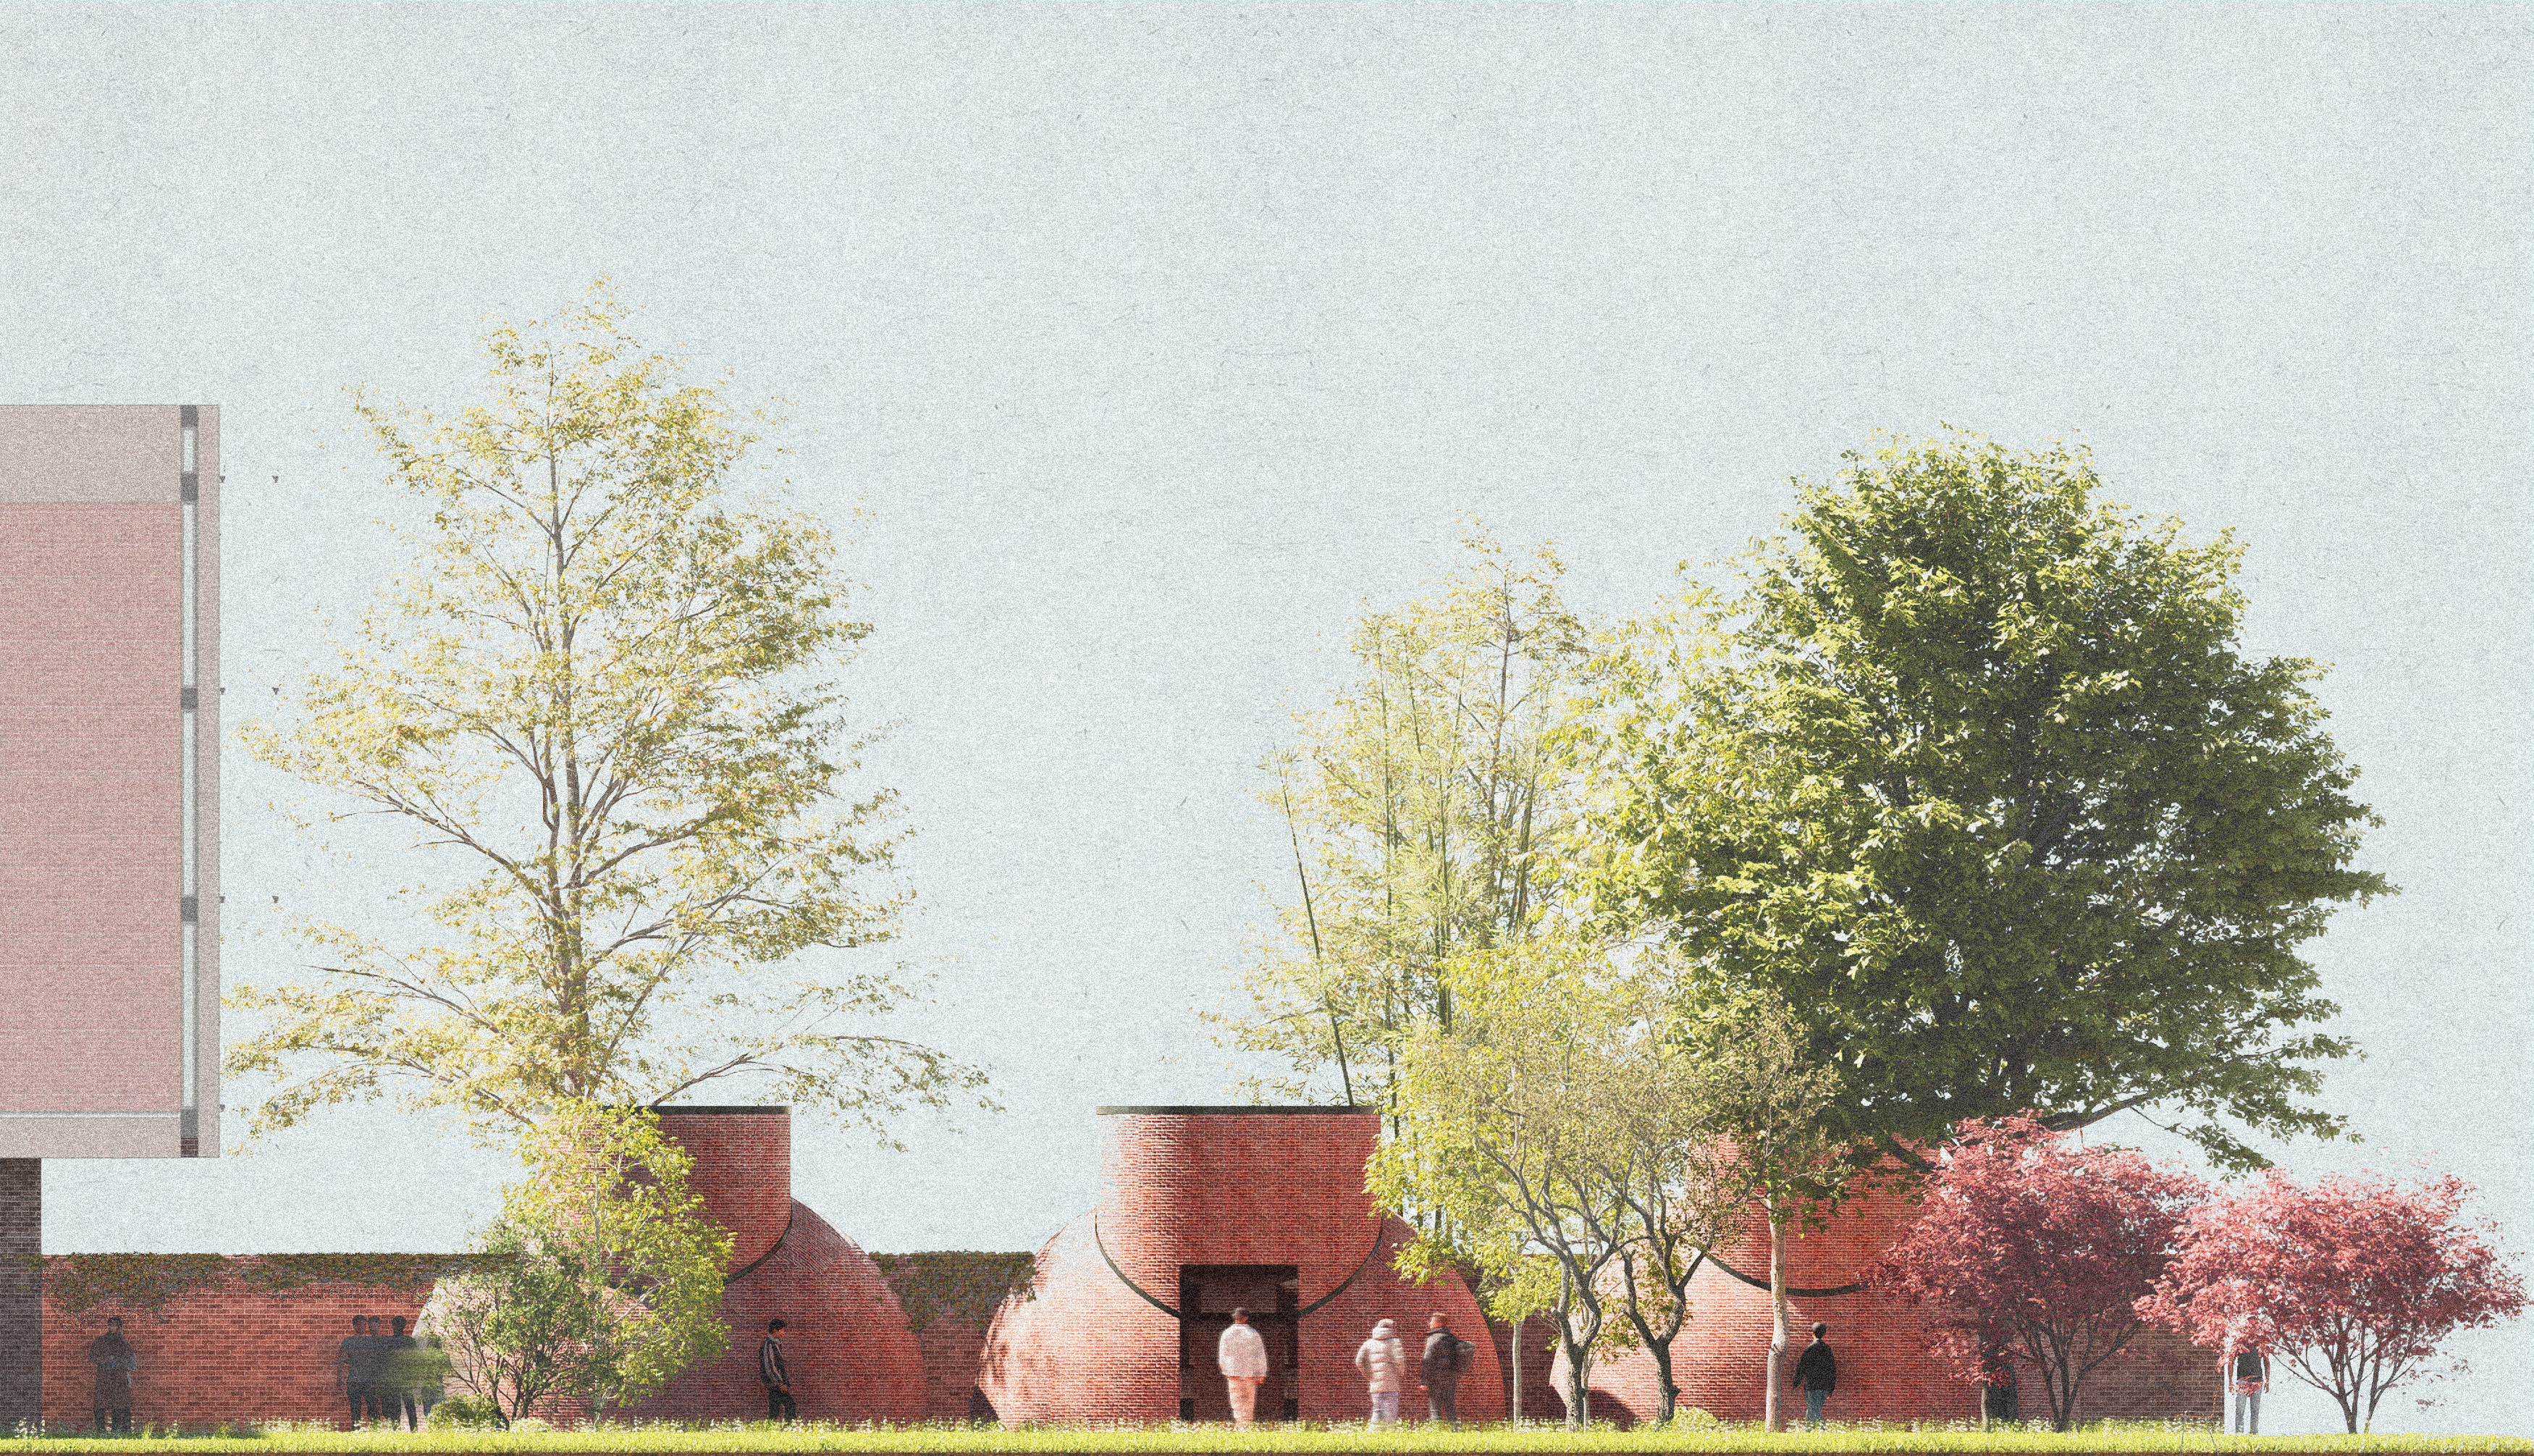
Site elevation collage Site elevation collage with physical model overlay

The Site

Queen's College Cambridge

1:500 Site Map
1:500 Site Map
1:200 Site Plan
1:200 Site Plan showing points of access to fellows' court (in red)
OSMnx footpath analysis
OSMnx + NetworkX analysis of footpaths and entrances around Queens'
Sunpath diagram
Sunpath indicating heavy shading due to foliage at boundary

Zooming in...

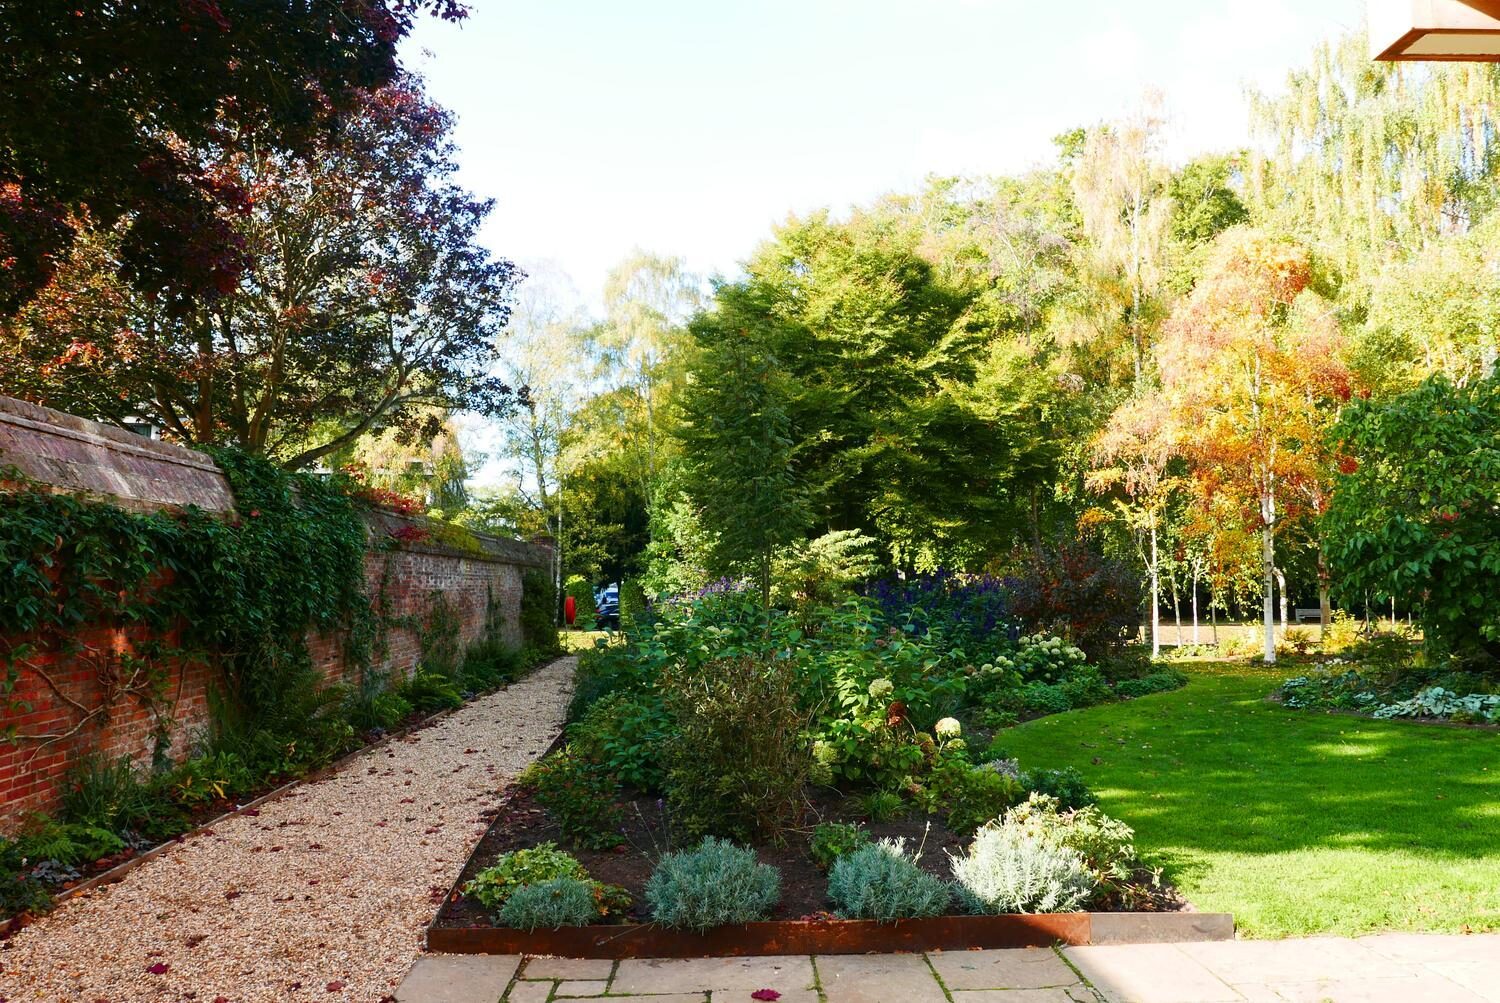
Site photo
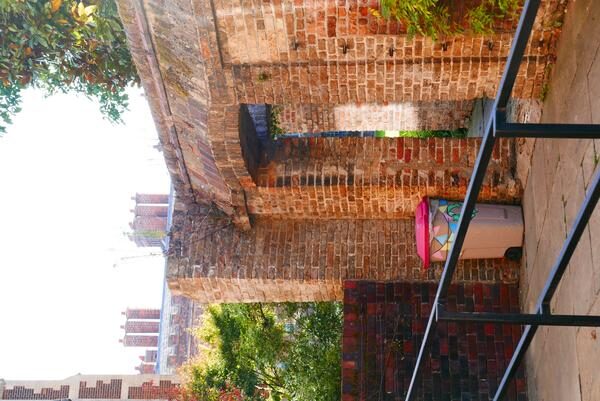
Brick wall separates site from President's garden, casting substantial north shadow
Site photo
Deep shadow cast by trees in President's garden
Footpath long exposure collage
Long-exposure collage showcasing high-traffic nature of path leading to the Cam
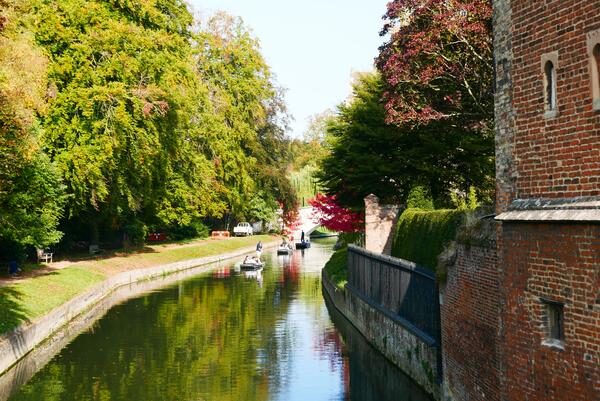
Site photo
Proximity to the Cam presents geological challenge in building foundations
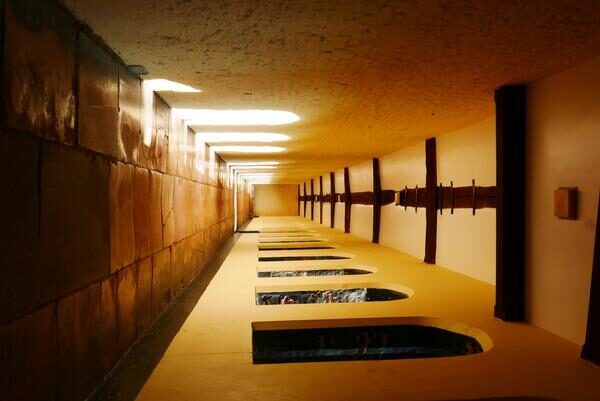
Site photo
Periodic light beams in first court
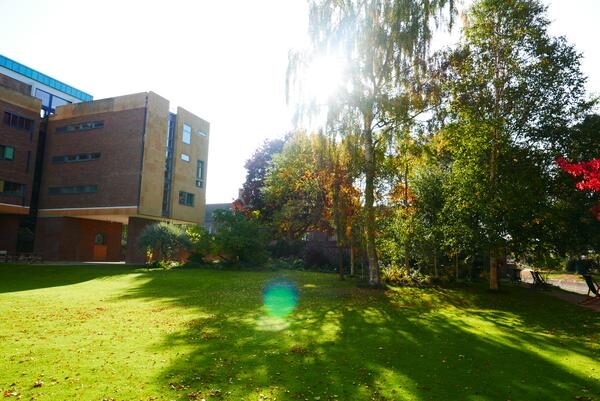
Site photo
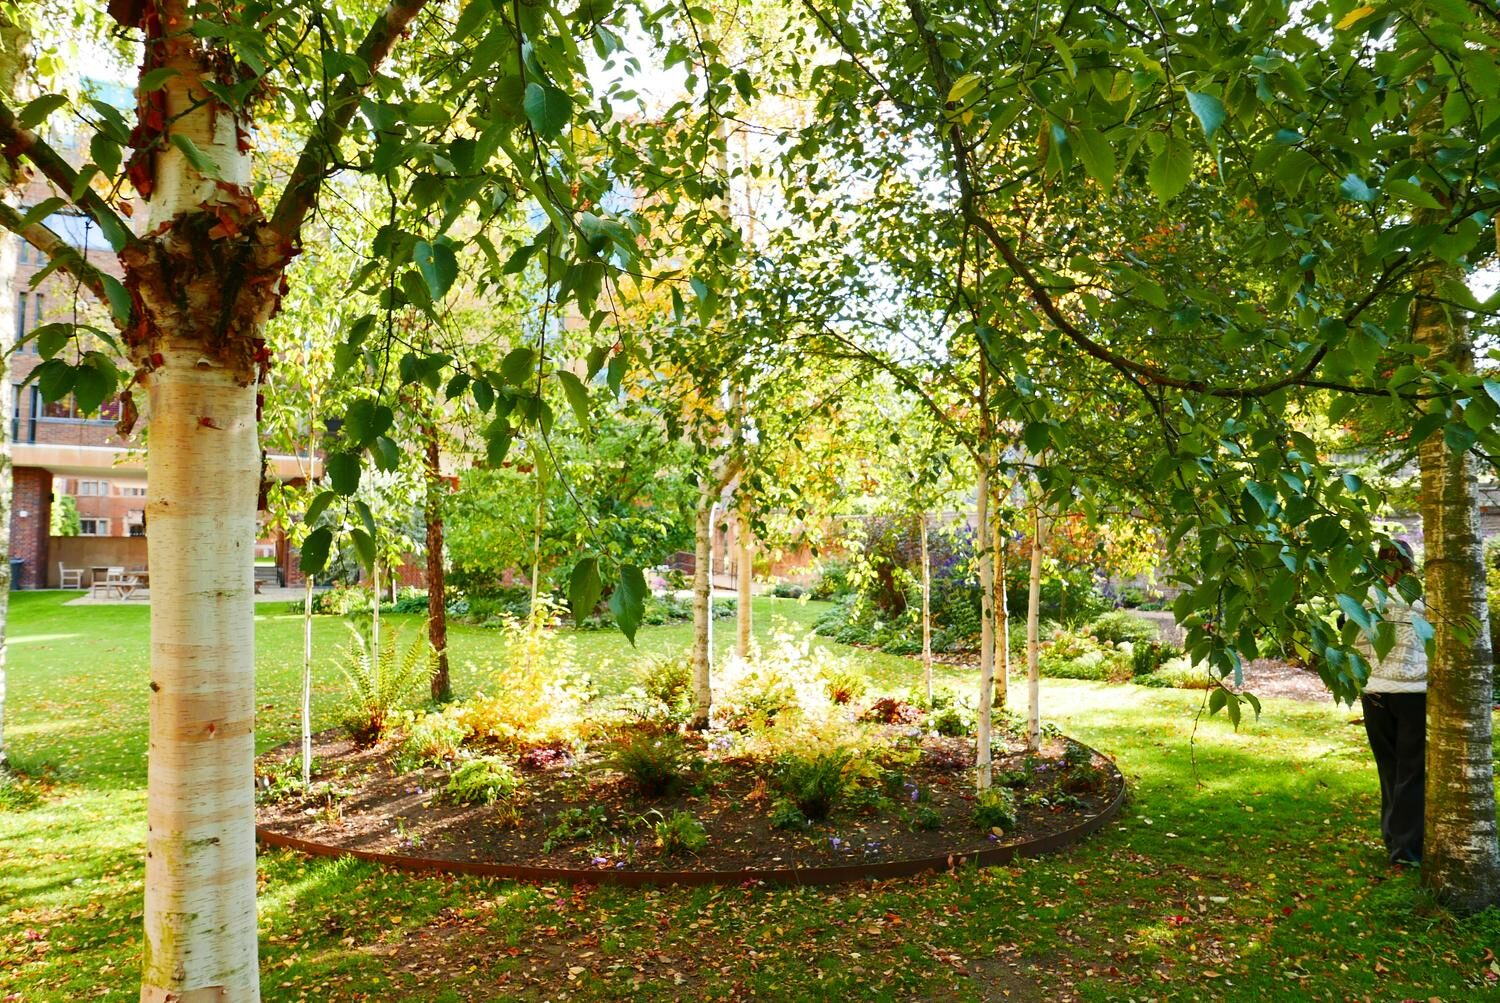
Pleasant tree grove close to the Cam and at site boundary
Site photo
Materiality: mostly 18th-century brick
Site photo
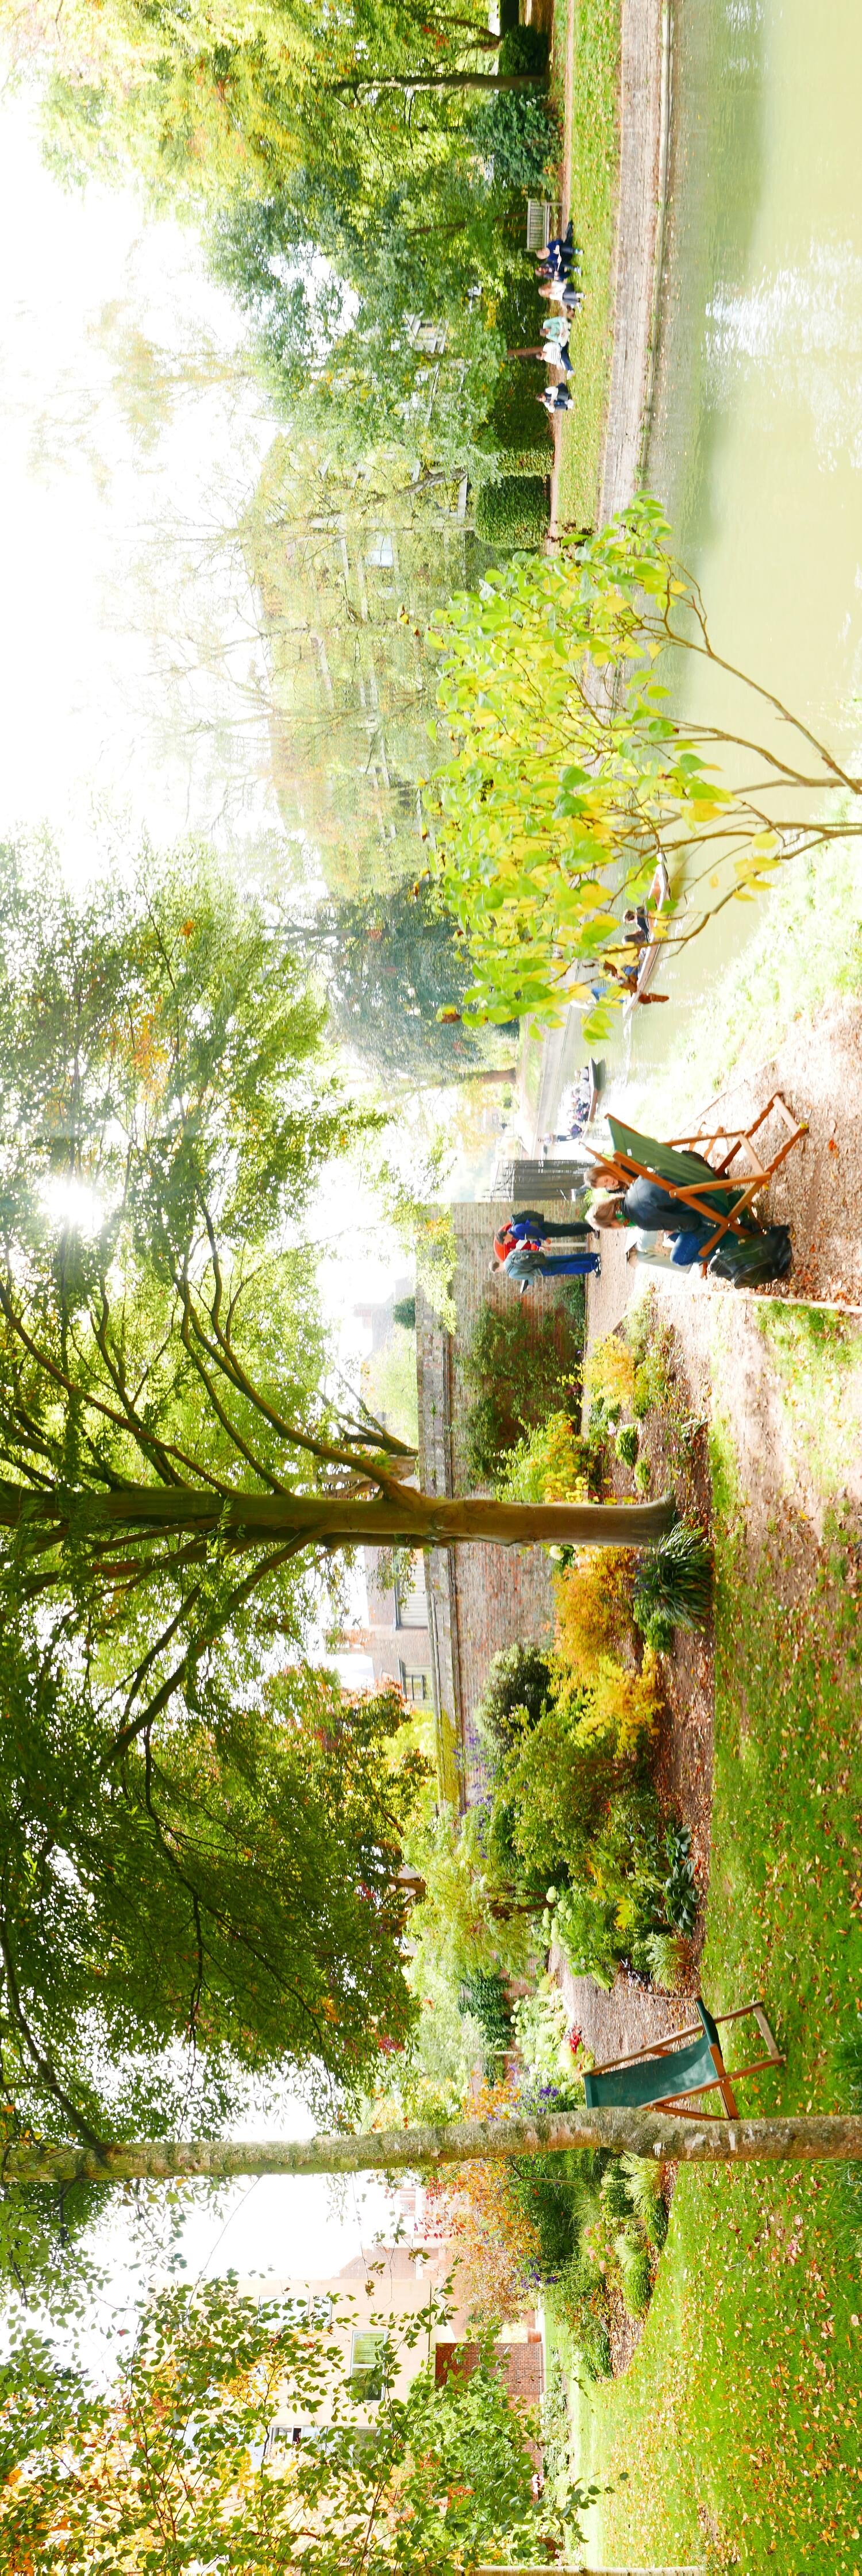
Riverside leisure space accessed through either footpath or lawn

The Program

The Library is to integrate three novel spaces inspired by key rooms inside Roman baths:

I. Frigidarium: the social heart of the baths

II. Caldarium: a reflective bathing room

III. Tepidarium: the warm-up space

Sankey diagram
Sankey diagram showcasing average distribution of students inside the library
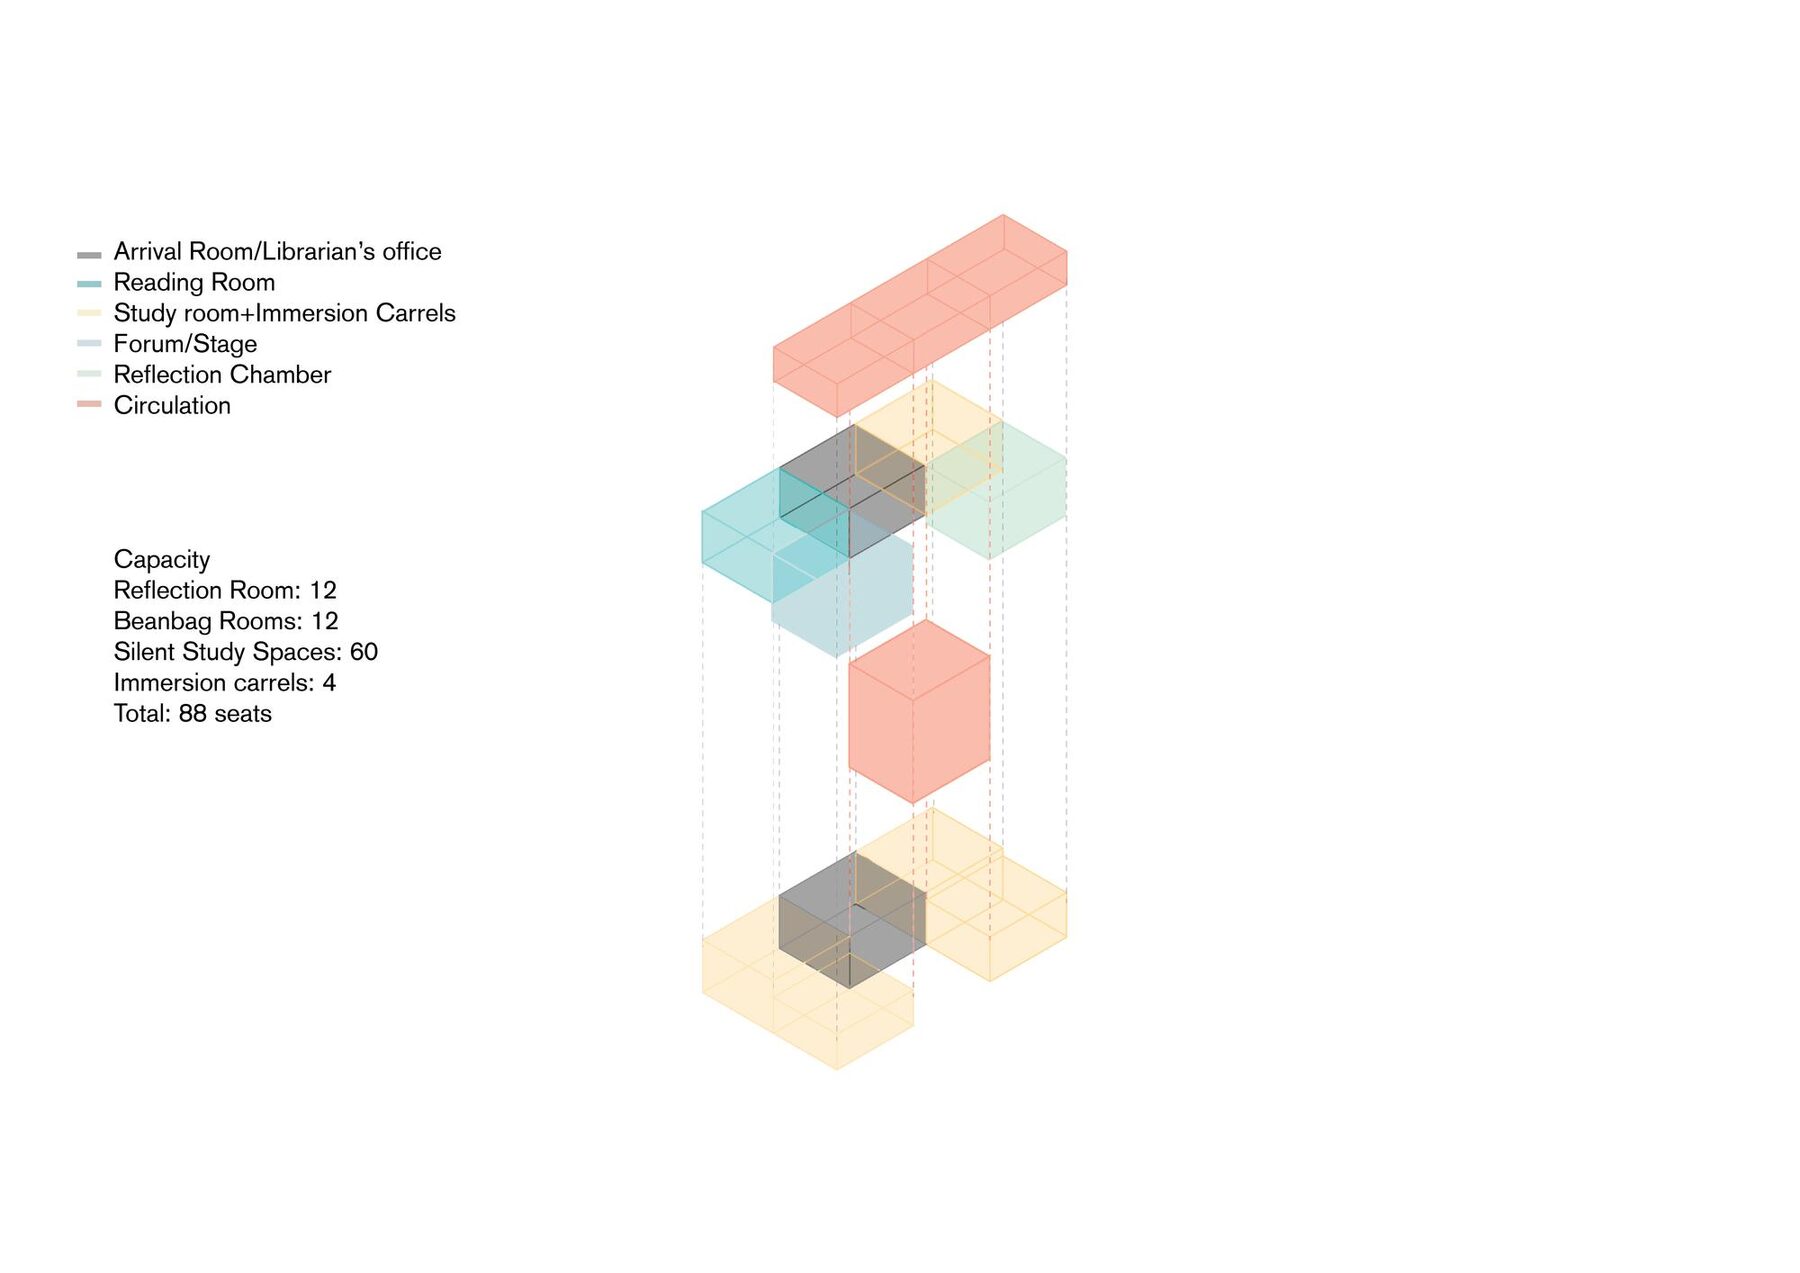
Program diagram
Program diagram showing spatial adjacency between study areas and key Roman-inspired rooms

Site-Induced Circulation Logic

Initially, the narrow site width (7m) inspired a straight 30m stepped walkway connecting rooms from the brick wall entrance to the Cam river.

Narrow descending circulation
"Narrow" descending circulation — initial sketches (hover to see change)
Wrapped central staircase
"Wrapped" central staircase allows access to all rooms on a floor from a single point

However, this created a long, congested circulation between rooms, so the walkway was twisted around itself to minimize travel distance between rooms by half.

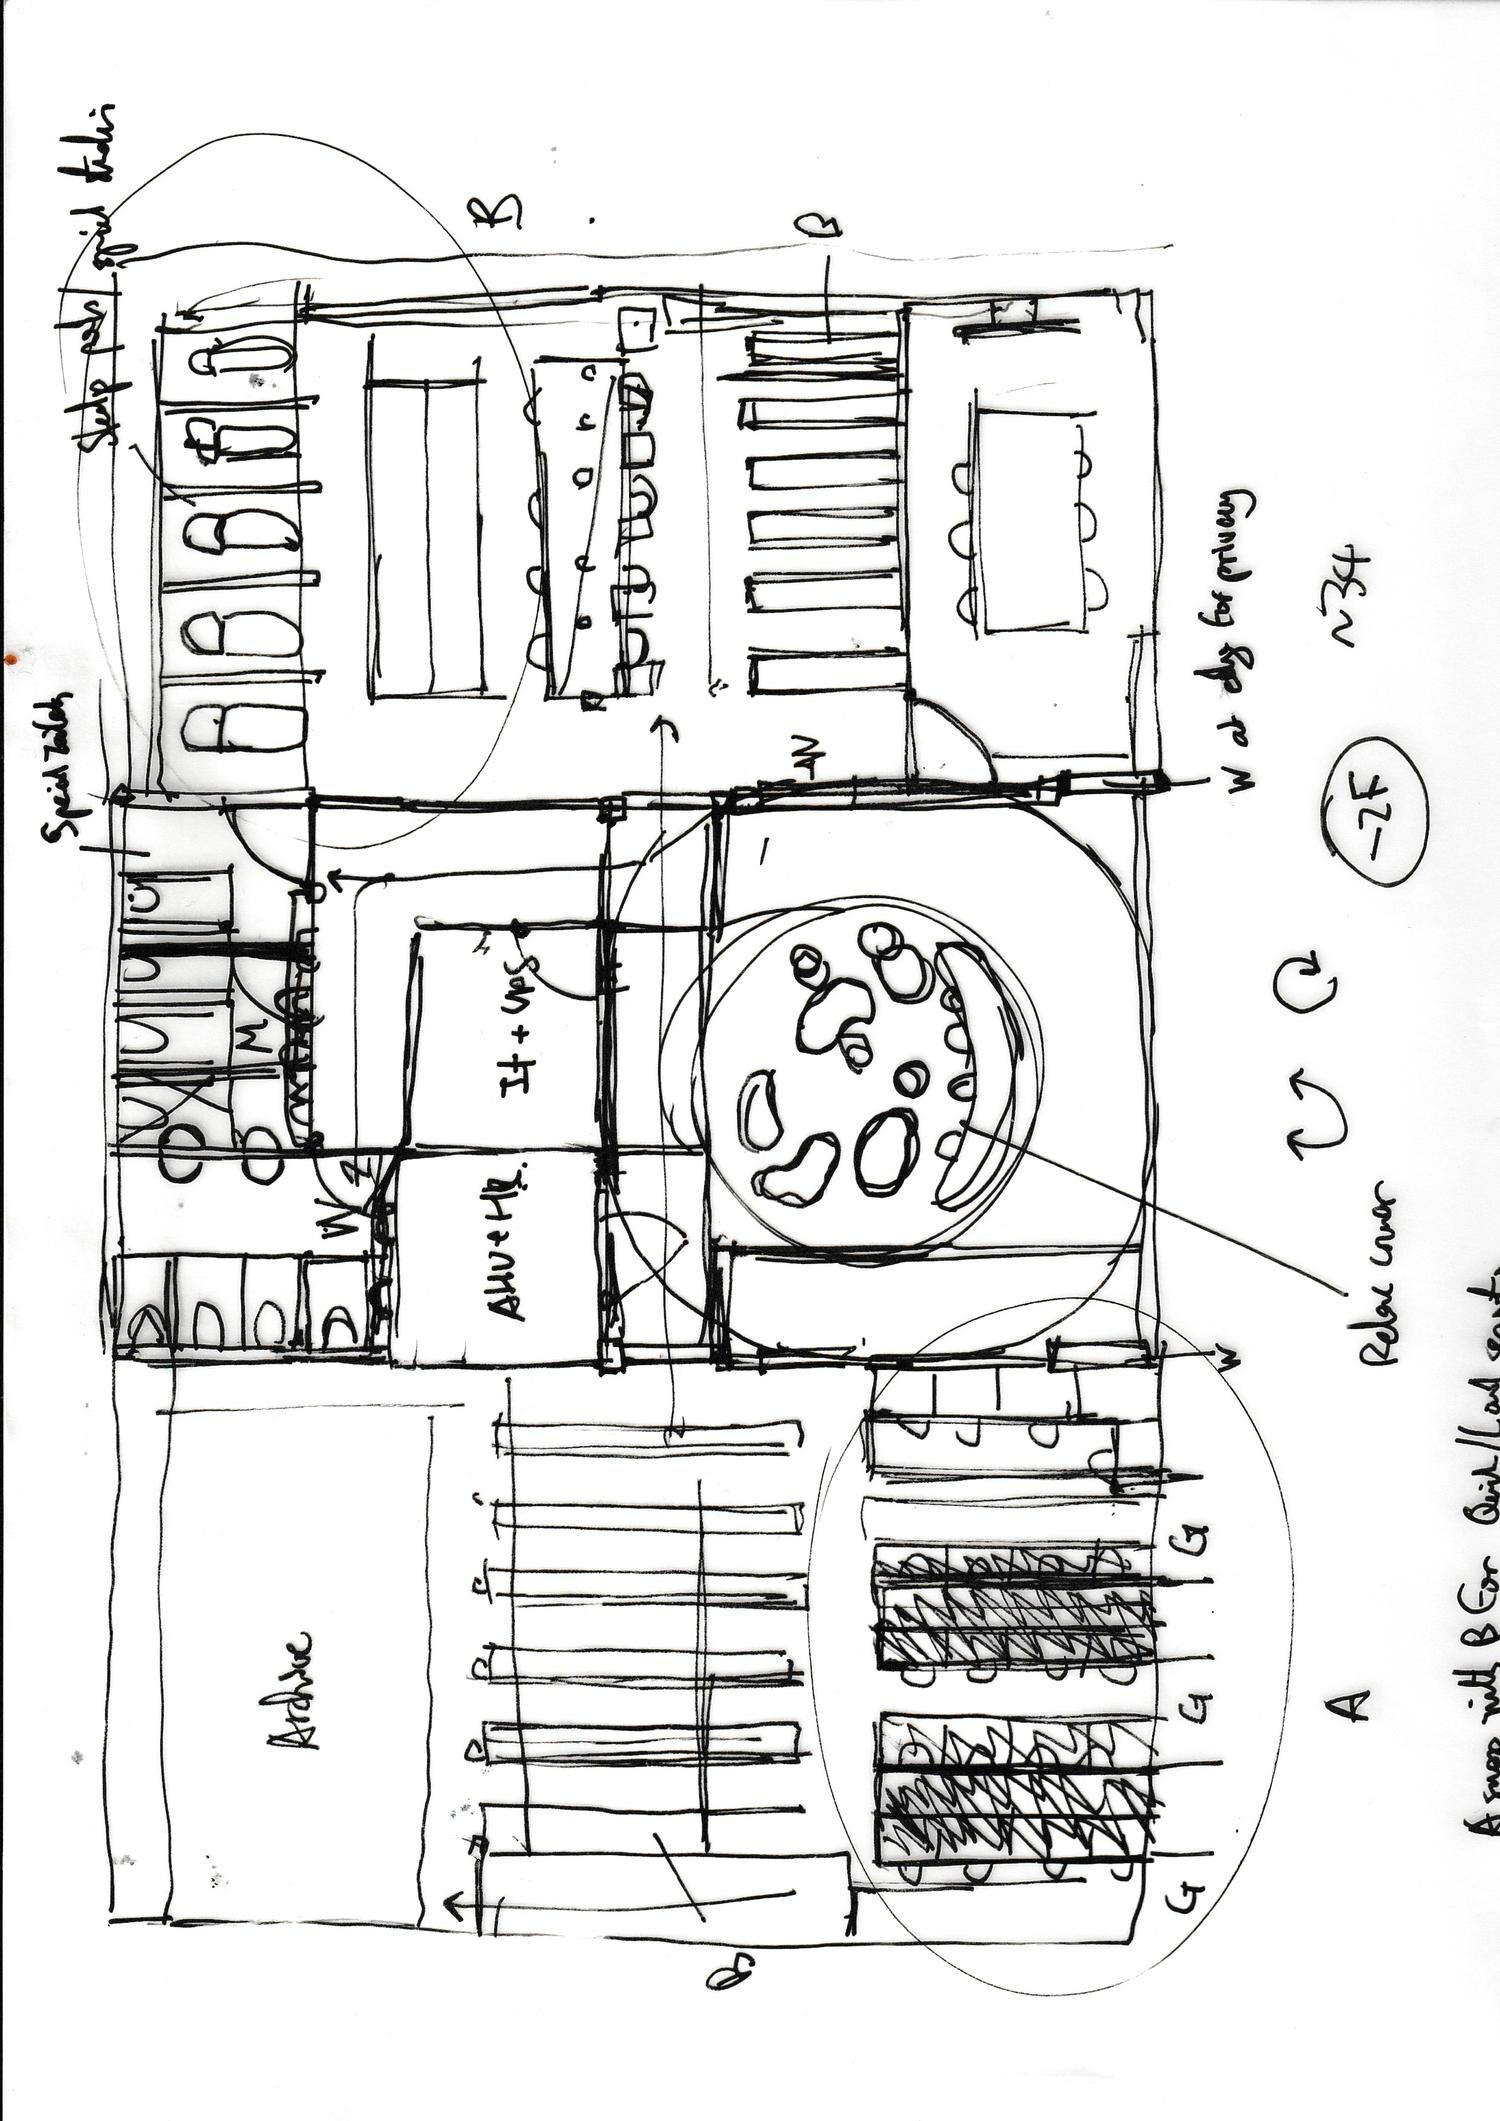
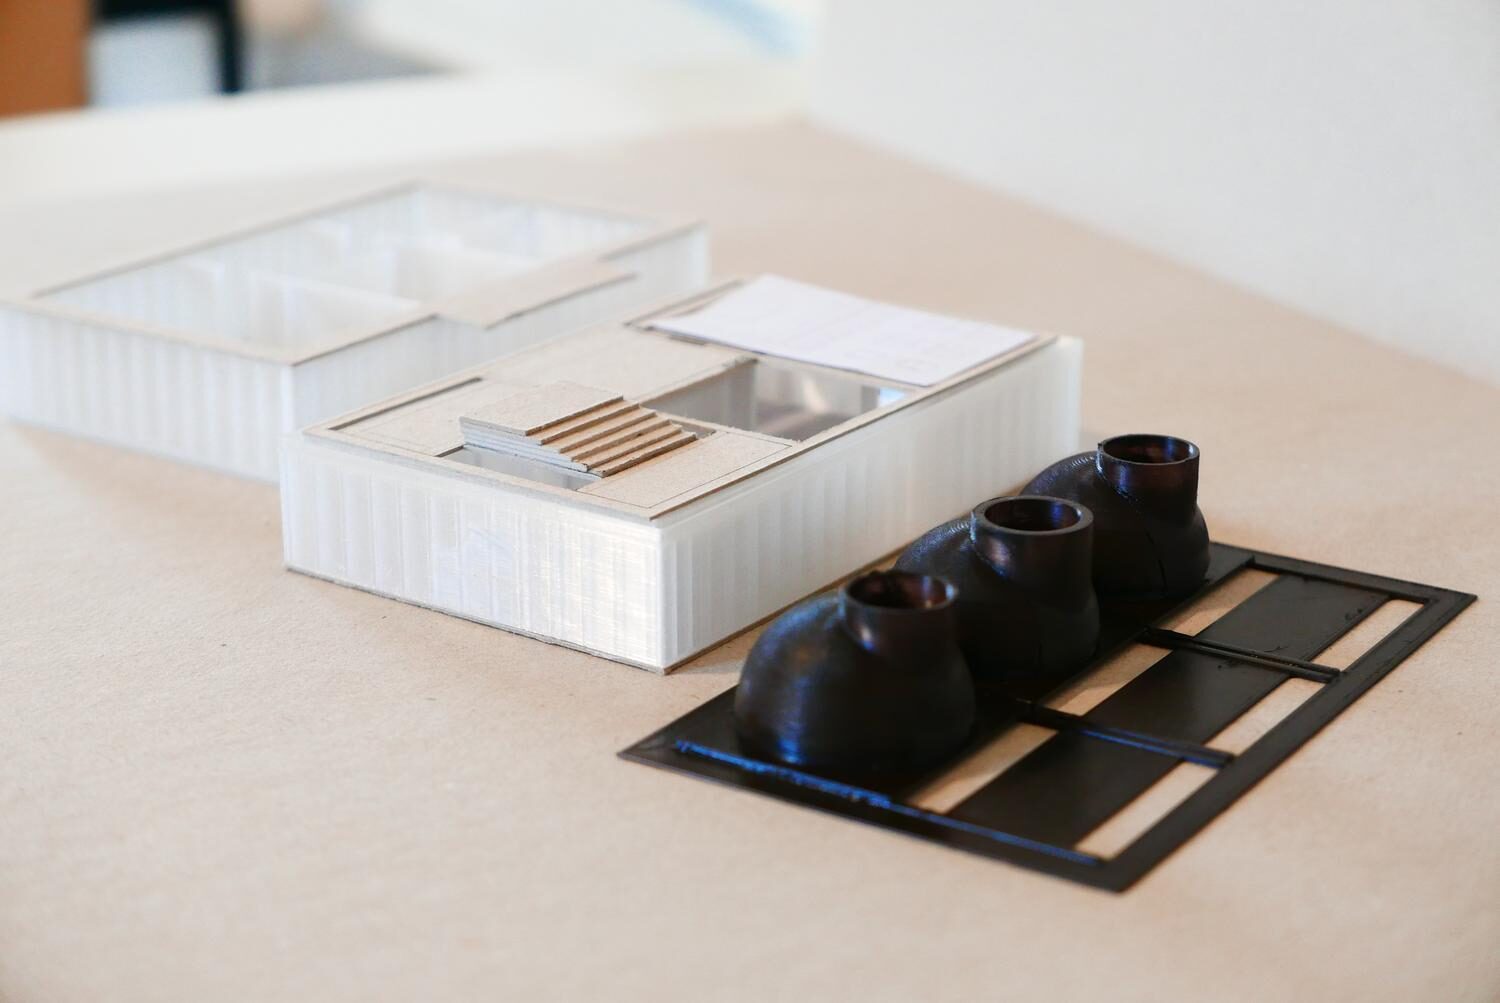
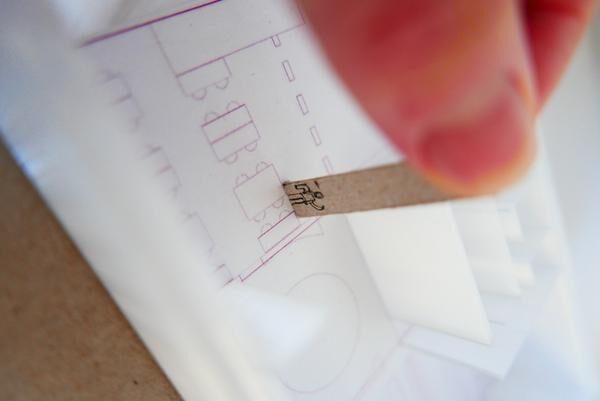
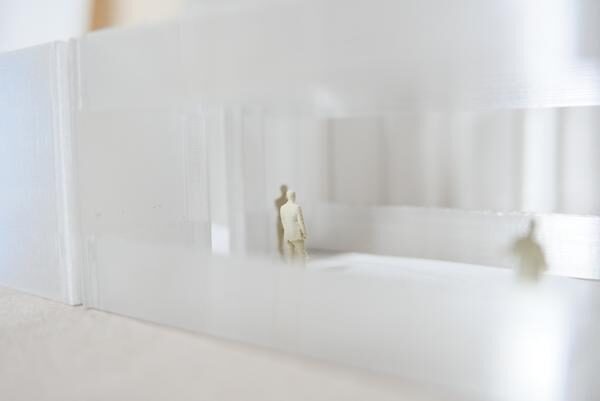
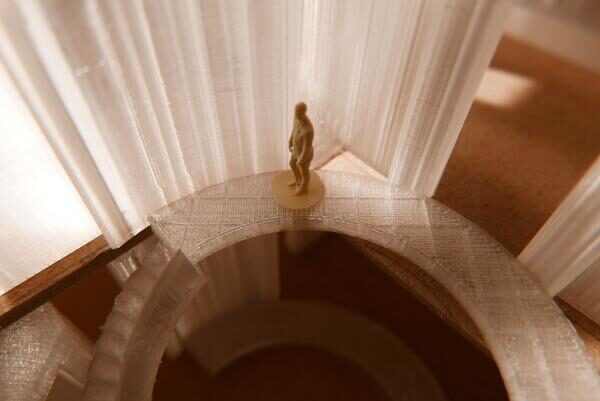
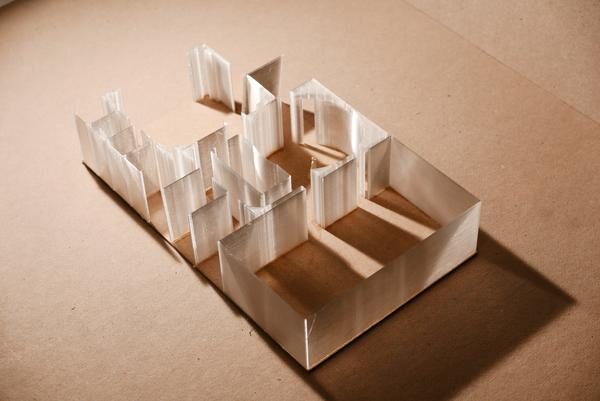
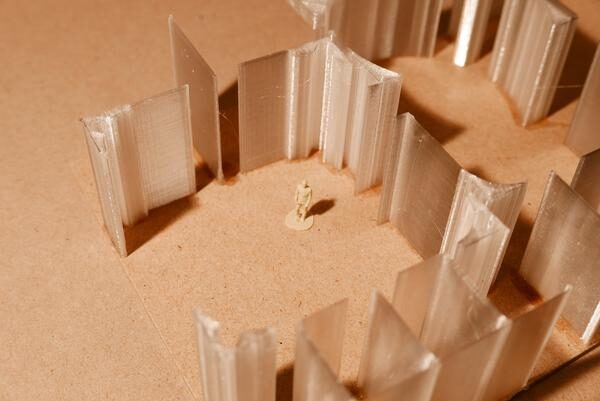
I constructed a physical model, overlaying paper printouts of each new masterplan iteration, to assess the spatial quality of each room and the adjacency of fittings using a minifigure.
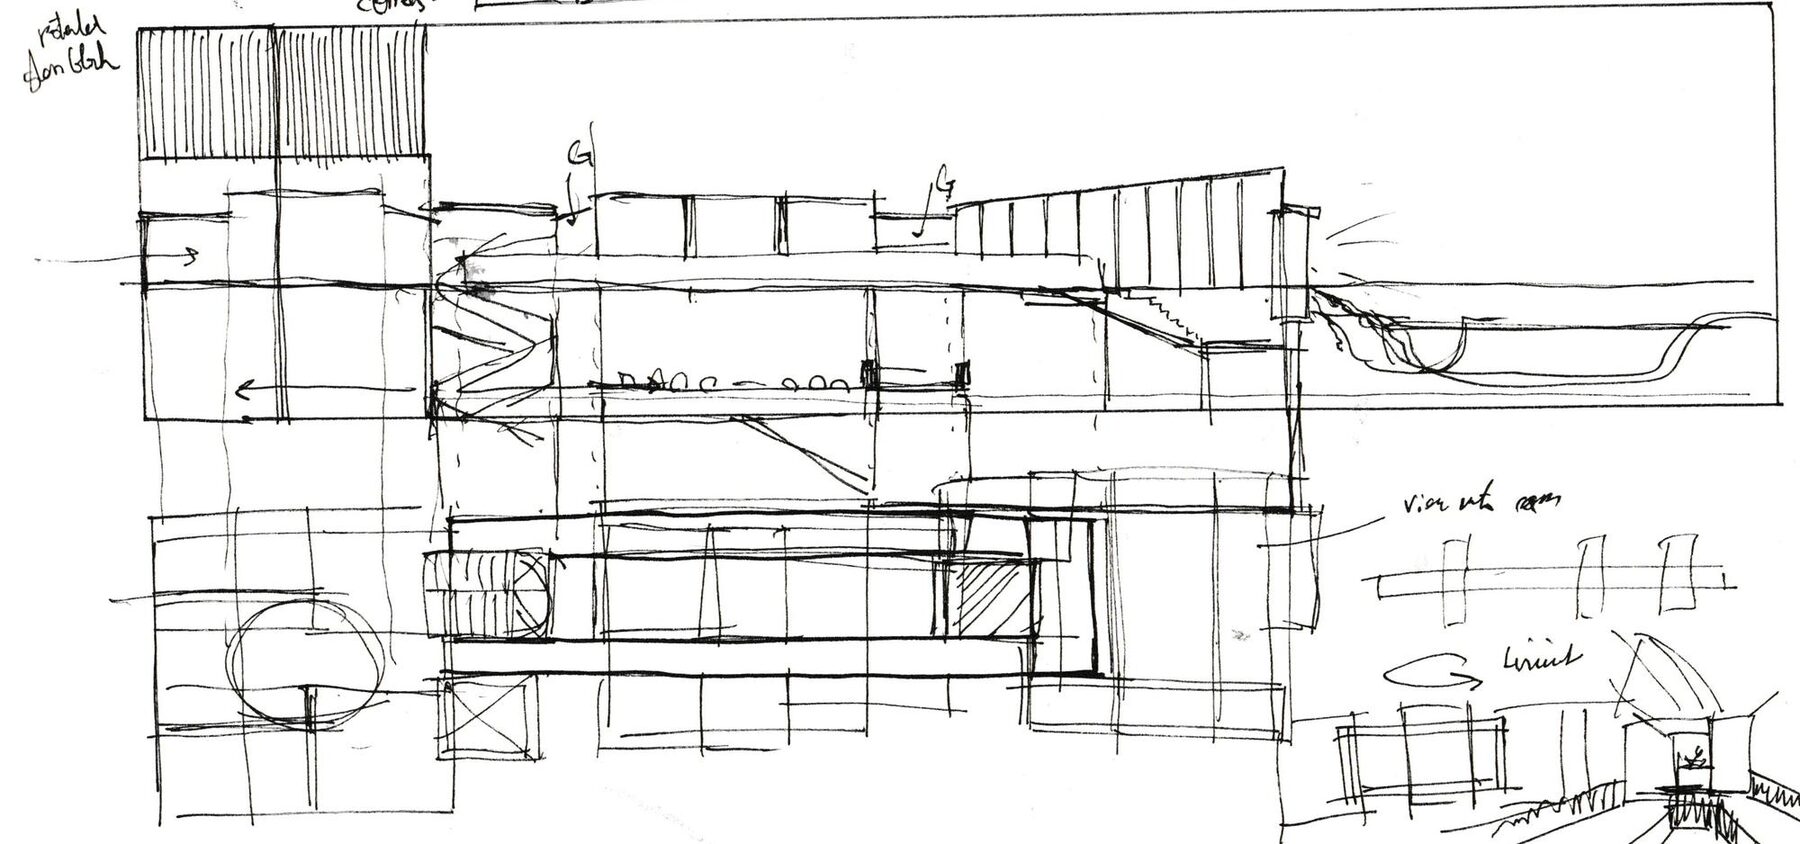
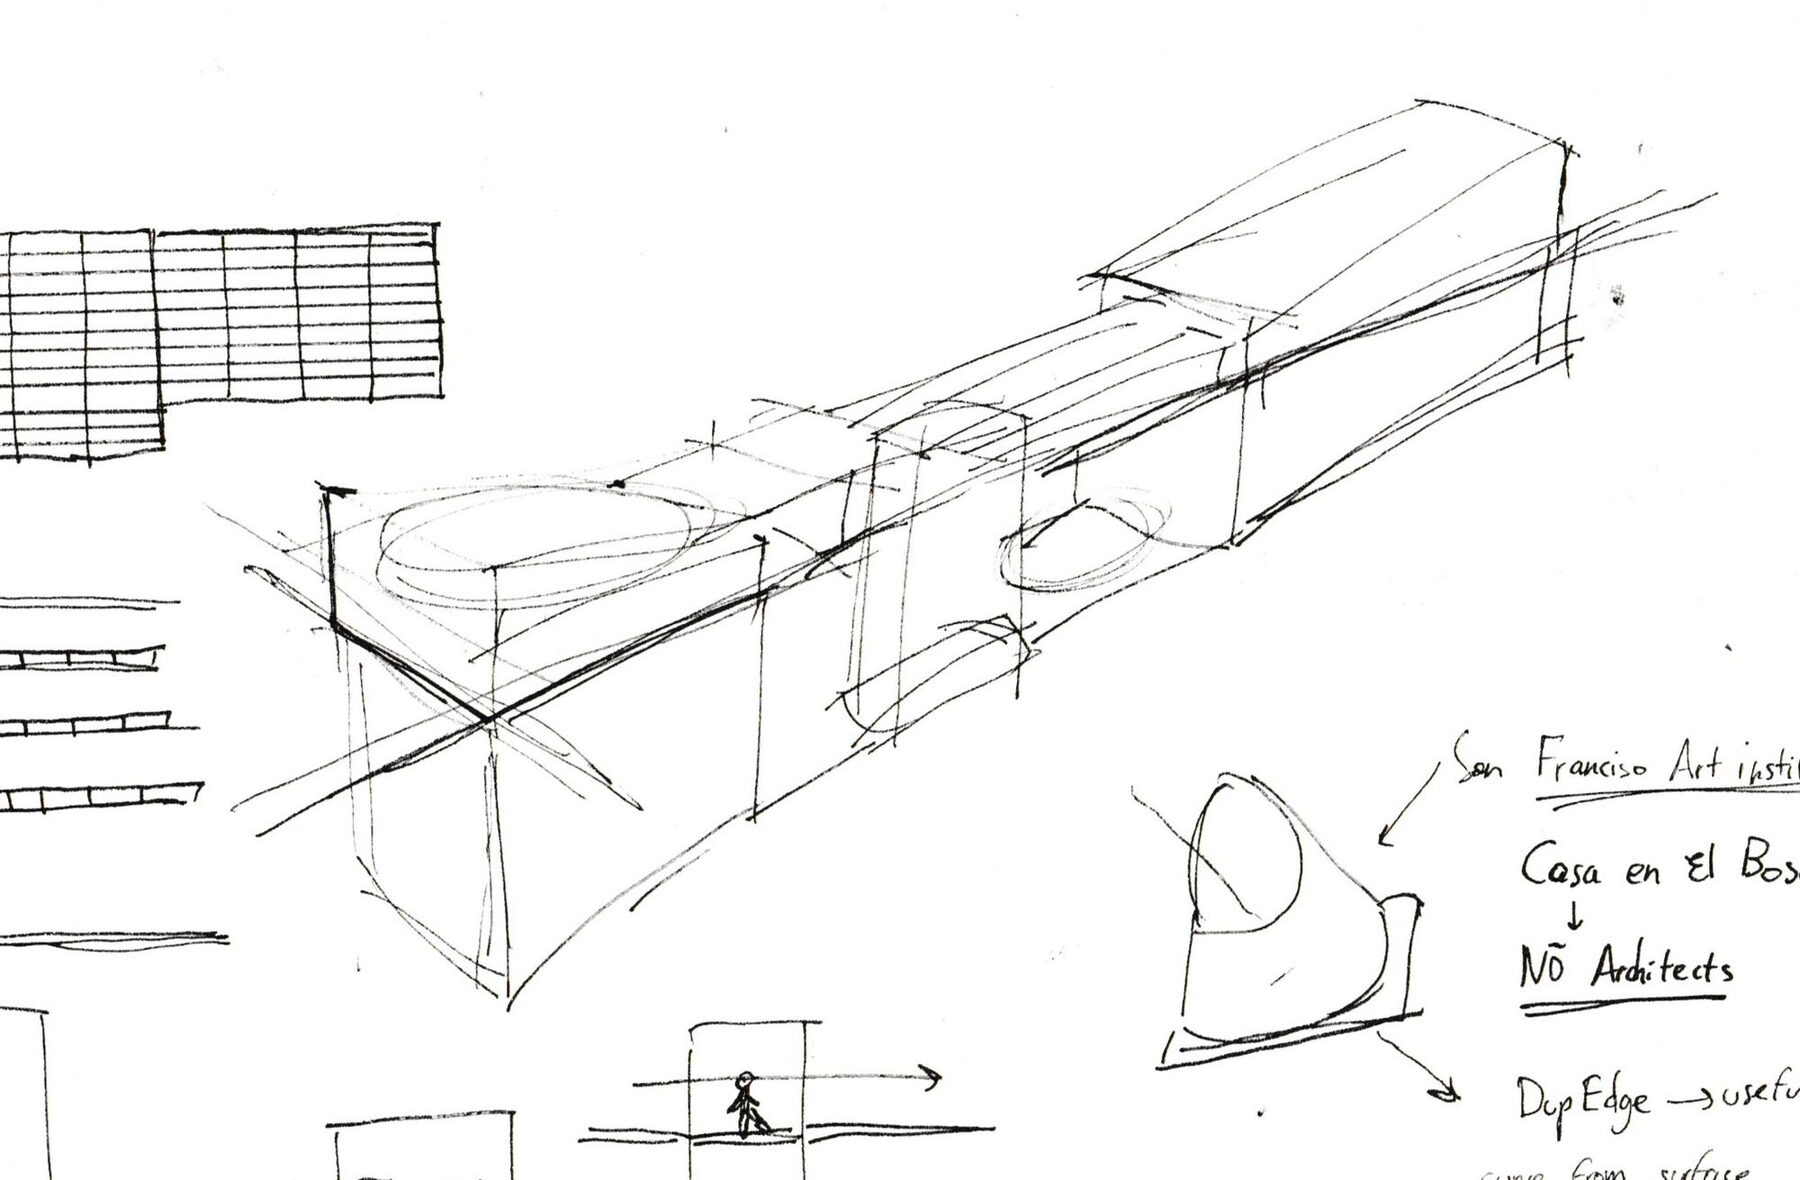
Physical model
1st physical model, used for internal layout testing and floorplan troubleshooting
Physical model detail
Testing study area with figurine showed inefficient circulation
Physical model detail
Hypothetical scenario in the beanbag room to test optimal + maximum capacity
Physical model detail
Redesign of -1 landing, originally too narrow to accommodate a single figurine
Physical model detail
-2 floorplan visualised to assess lighting penetration from the stairwell
Physical model detail
Figurine testing showed the 4.5m floor height felt "narrow," forcing a redesign of entrance widths
Physical model detail

Final Floorplans

Hover to reveal changes

Ground floor circulation
Ground floor circulation diverts the old walkway to increase capacity and guide students toward the "library stop"
-1 floor circulation
-2 floor circulation

Curating Light

The high bordering trees and brick wall significantly reduced the levels of direct sunlight reaching inside the library. I solved this with the addition of a "Reflection Chimney" on top of the brick dome, which captures and reflects direct sunlight regardless of sun position.

Section after chimney
1:50 section showing the reflective chimney capturing low-angle direct southern light (hover to see change)
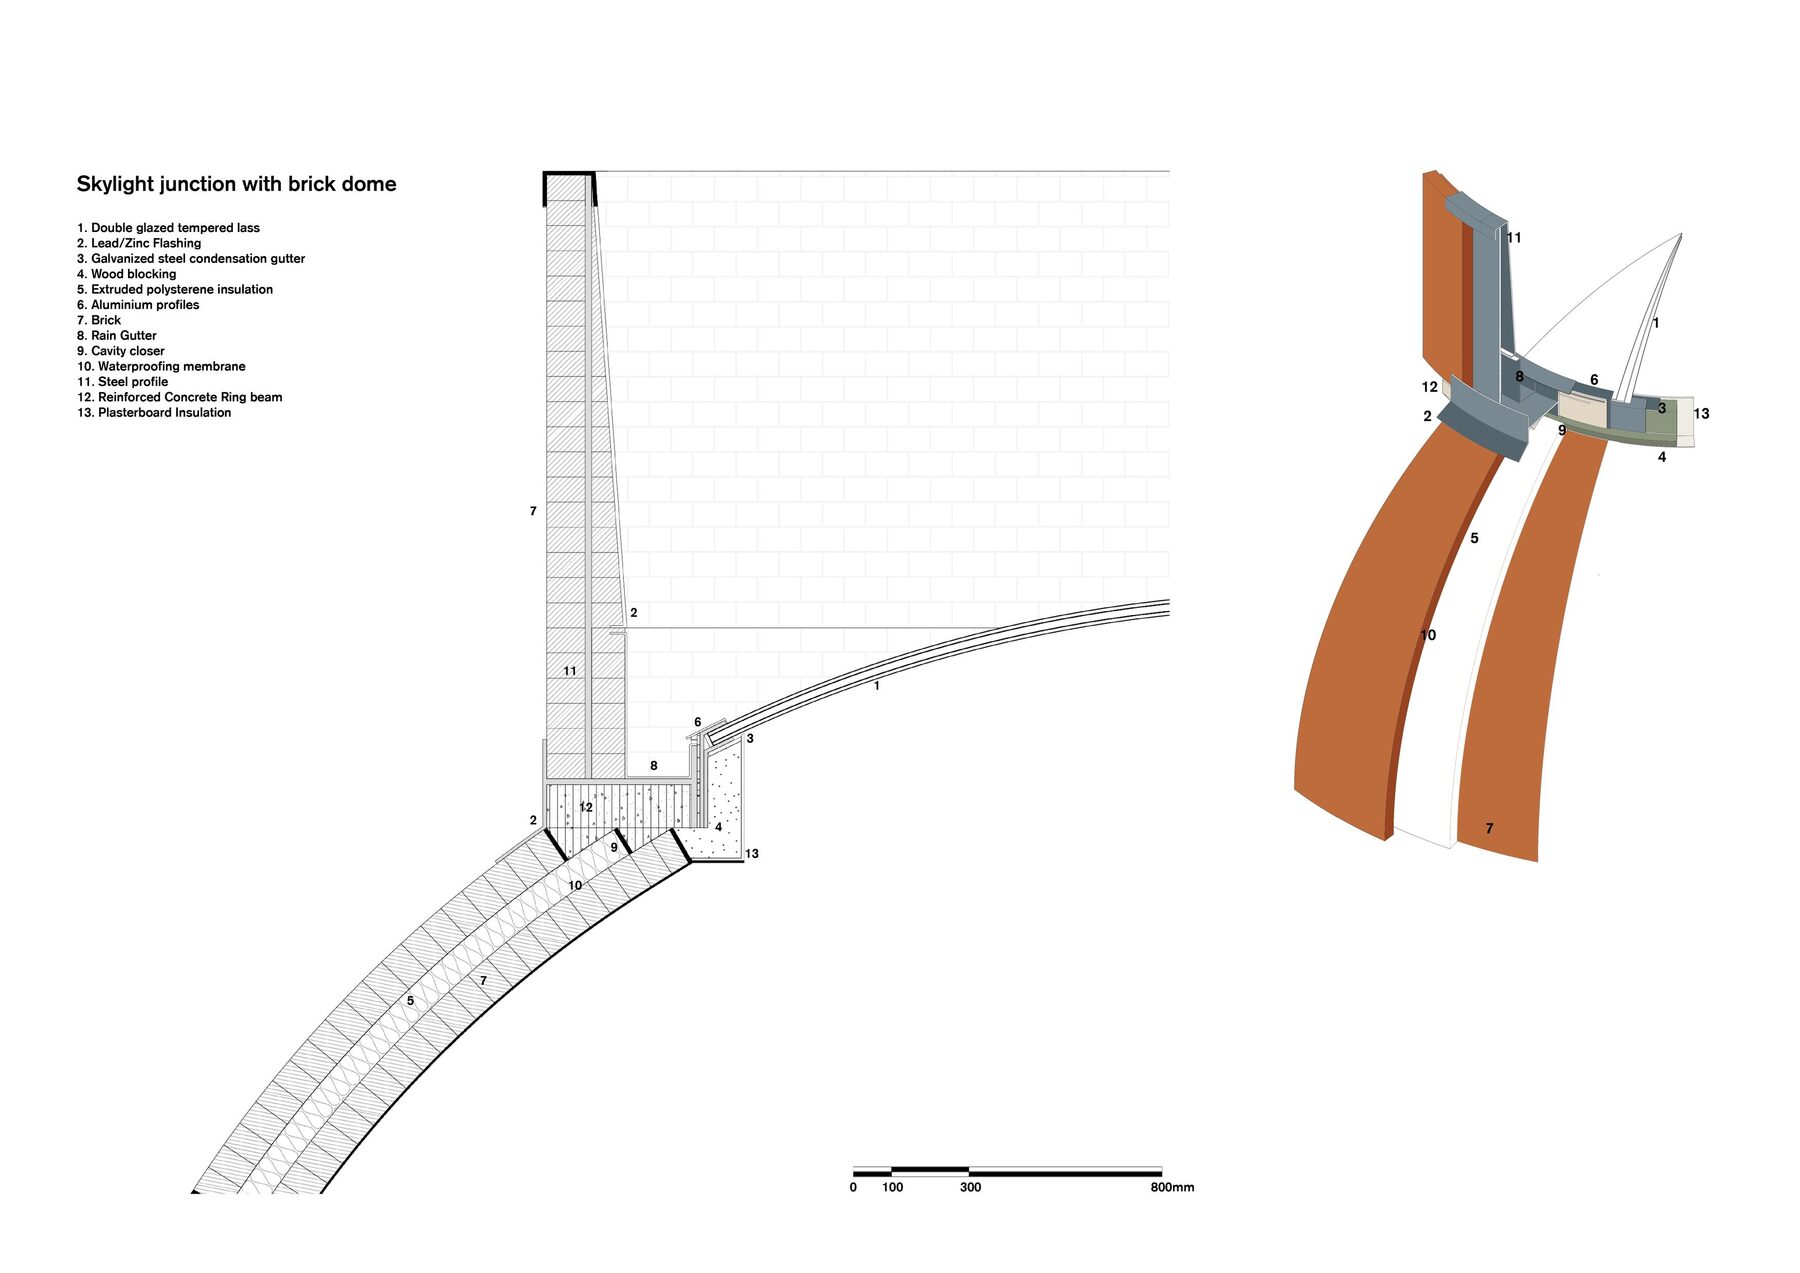
Technical detail drawing
1:5 technical detail of reflective chimney, oculus, and waterproofing

Construction Sequence

Construction sequence 1
1. Secant piles drilled into ground. Tension piles cast. Reinforcement cage installed.
Construction sequence 2
2. Base slab poured, followed by -2 and -1 reinforced concrete walls, then floor slabs.
Construction sequence 3
3. Waterproofing membrane, internal brick walls and stairs installed.
Construction sequence 4
4. Brick domes mounted.
Move on to The Experience →